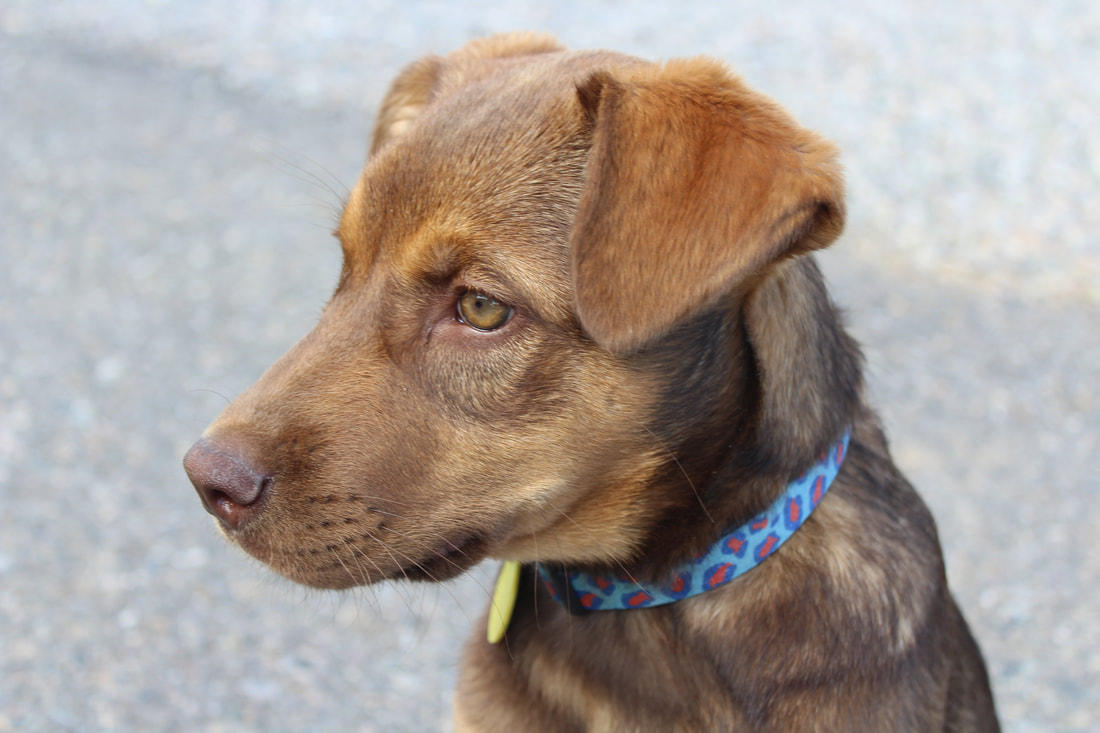
Before
After
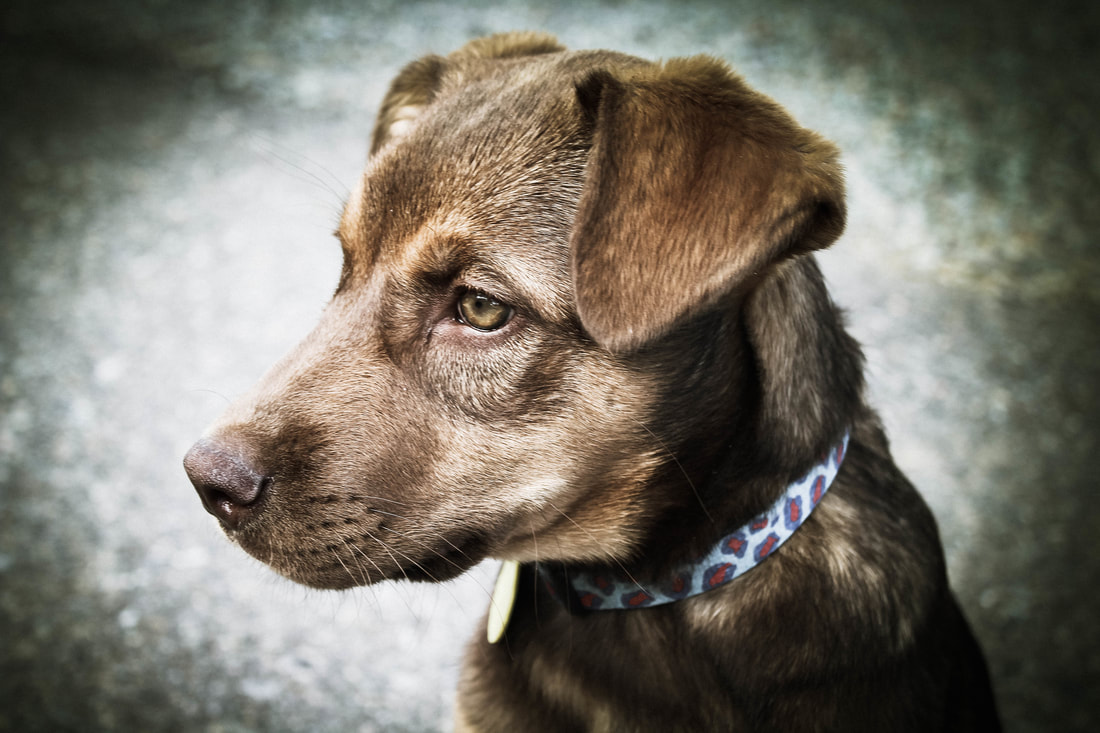

1. To get from my raw photo to my edited photo I first added the preset filter Bleach Bypass to the photo (1st one above). I then added a Radial Filter to give it the darker corners and then Updated Radial Filter by moving it around to where the darkened areas lined up best. I then made a Virtual Copy of the first edited photo and clicked on another preset, Warm Retro (2nd photo above). Just like to the first photo, I added a Radial Filter to darken the edges and then Updated Radial Filter so it fit right. I then selected both photos and clicked on export.
2. After using Lightroom, I found out I like it more than Photoshop because there is not as much going on. Its easier to get working right away and I like how it makes it easy to keep a natural looking photo with different presents and more visible editing bars (highlights, shadows, contrast, etc.). I also like how Lightroom makes it easy to see your history and auto save. I think I will be using Lightroom more this semester because I like the way it makes photos look (natural) and I like the way that it functions.
2. After using Lightroom, I found out I like it more than Photoshop because there is not as much going on. Its easier to get working right away and I like how it makes it easy to keep a natural looking photo with different presents and more visible editing bars (highlights, shadows, contrast, etc.). I also like how Lightroom makes it easy to see your history and auto save. I think I will be using Lightroom more this semester because I like the way it makes photos look (natural) and I like the way that it functions.
