tree top
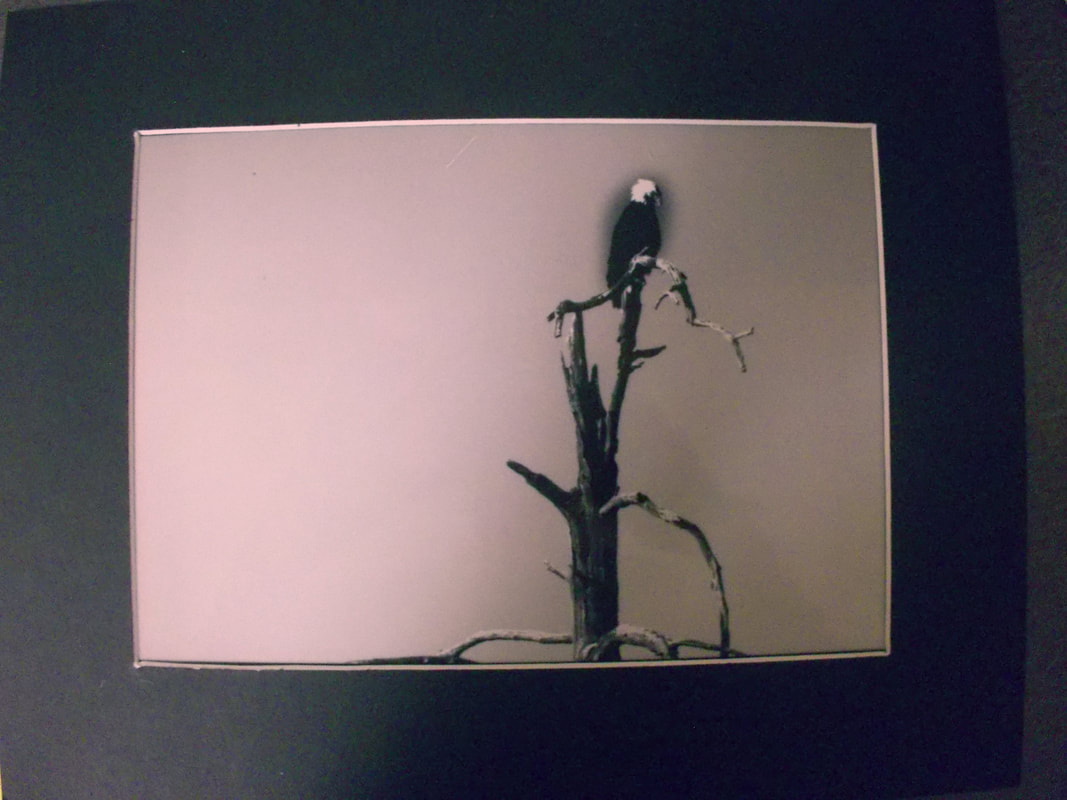
1. To make this contact print I first opened my photo photoshop, cropped it, put a black and white filter, inverted the colors, and then adjusted the levels so there were dark blacks and light whites, then printed it onto a transparent paper. I then went into the dark room, grabbed a piece of special dark room paper, and used the light machine to expose the piece of the paper on inch at a time. I then put the piece of paper in the developer for 2minutes, then the wash for 30 seconds, then the fixer for 3minutes to make it permanent. I then put it in water for 2 minutes to wash off the chemicals and then looked at the different times of the photo (in seconds) out of the dark room in white light. I then exposed my photo to light for 3 seconds because 3 seconds had the best blacks and whites. I then repeated the steps above and put it in water for 10 minutes to make sure all chemicals got off. I then hung my finished photo for 24hrs to dry then pressed it down on matte board and matted my photo.
2. I really like working in the dark room. I enjoy the process and the way it makes photos look in the end. This process was easy for me as I started having more practice with it. I really enjoyed working in the dark room and am sure I will work in there many more times during the semester.
2. I really like working in the dark room. I enjoy the process and the way it makes photos look in the end. This process was easy for me as I started having more practice with it. I really enjoyed working in the dark room and am sure I will work in there many more times during the semester.
